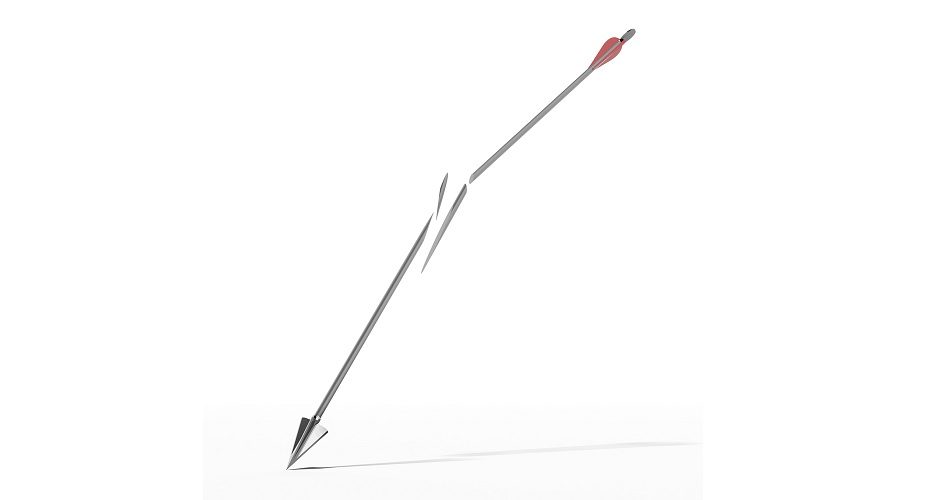
An arrow that is just the right length for you is a joy to use. However, since arrows come in different sizes, it’s become rather difficult to get arrows that fit you perfectly. To do this, you would have to cut your arrow. Most people take their arrows to stores to get them cut because they don’t know that they can safely and conveniently cut them from home. In this article, you learn how to cut arrows at home, and you’ll even learn the best way to cut carbon arrows and other kinds of arrow types.
Items You’ll Need
Before you start cutting your arrows, there are some items you’ll need.
- A wooden base
- A ruler
- A worktable
- Markers
- Tape
- Sandpapers
Cutting The Arrows
After getting your items, it’s time to start cutting.
Step 1
Before you start cutting all willy-nilly, you need to determine the actual length of the arrow and determine where you want to cut. This may seem like an obvious first step, but you have no idea how many people just cut their arrows at arbitrarily marked spots. All that does is damage the arrow further.
To know where to start cutting your arrow, you need first to figure out your draw length. The best way to do this is to use a draw length arrow. Once you have the draw length arrow on your bow (you should probably use a compound bow for this), have it pointed away from anyone it might hurt, and have someone tell you the length of the arrow about an inch in front of the arrow rest. When you’ve noted the measurement, drop your bow and remove the draw length arrow.
Now, put the arrow down and measure your draw arrow length on it with a ruler. Mark where you’re going to make your cut on the arrow.

Step 2
There are several tools that you can use to cut your arrow. You could use a saw, file, or a drill. Let’s quickly go through the method that involves using these three instruments.
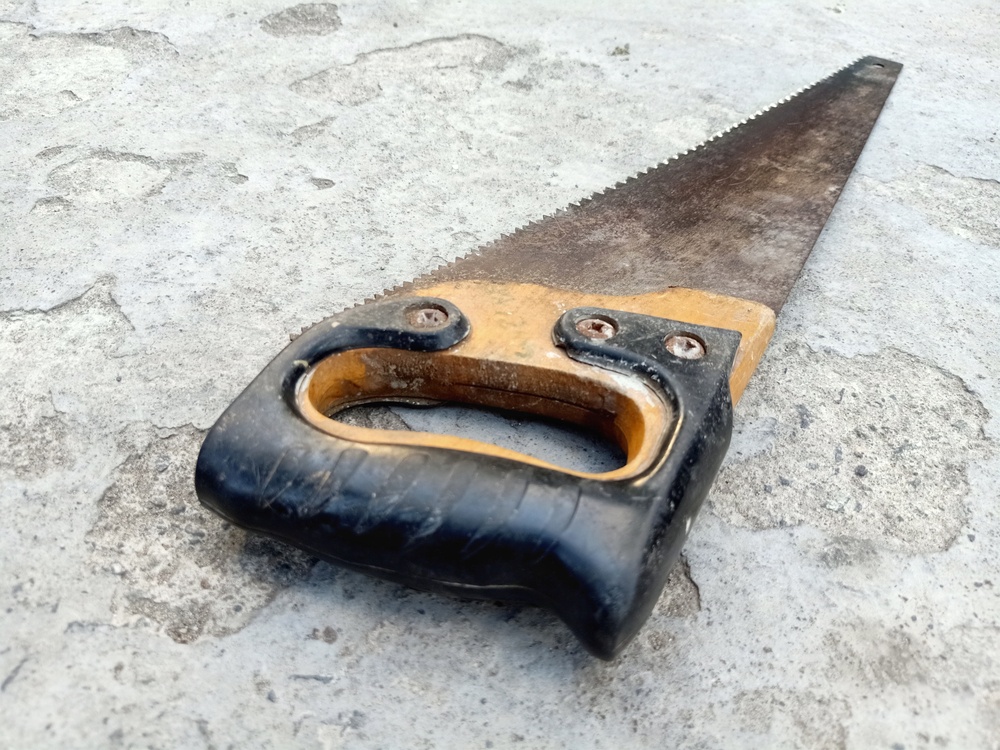
Saw
Using a saw is probably the best way to cut carbon arrows. That’s because it’s such a stress-free method, and it guarantees a smooth cut.
To start, look for the point you previously marked on your shaft. Next, adjust the saw so that it is sitting just gingerly on the shaft. The saw must not rest all its weight in the shaft of the arrow, as this may cause it to shatter. Next, start the saw and attach the other end of the shaft to the drill. Make sure that the shaft spins in the same direction as the saw blade— that way, you’ll be able to minimize the angle variations that are found when the arrow is spun manually.
As you’re cutting, make sure you’re applying light, but consistent pressure as the arrow shaft slides across the blade. After this, you can set the arrow aside for finishing.
File
This method is perhaps the most straightforward; however, it requires a little patience and hard work because the cut won’t come easy. Start with grabbing a flat file and using the edge to make short, light, and controlled cuts around the mark of the arrow you want to start cutting. As you do this, keep rolling the shaft and make sure the cuts are consistent and short.
After cutting an arrow, the part left may have an angled edge. To remove this, use the end on a file, or use the end to draw circles on the bench as you would a pencil.
Drill and Pipe Cutter
This method is relatively easy to master; however, it can be dangerous. The thing to remember about using drill and pipe cutters to cut your arrow is that you shouldn’t thread the arrow too tightly through the cutter. Of course, the shaft should fit, but it shouldn’t fit too snuggly. If it does, this could shatter the shaft and render the arrow completely useless.
As the cutter spins, make sure you only apply a little pressure. You can even adjust it as it spins, but the pressure should remain minimal. It takes about seven to eight spins in your hand for the cutter to have done its job. You now need to remove it and break it off yourself.
Finishing
After cutting your arrow, you’ll notice that the end of the arrow may be rough or angled. There’s an easy solution for this. Use your sandpaper or a file to smoothen out the rough edges of the cut. This should be very easy to do. After finishing, your arrows are ready for practice or hunting— whatever one catches your fancy.

FAQs
Why Should The Pipe Cutter Not Be Allowed To Cut The Arrow Completely?
If the pipe cutter continues working on the arrow till it breaks, it may damage the shaft permanently, and that would be one less arrow for you.
Should I rotate the Arrow Shaft As I’m Cutting?
Rotating the arrow shaft will almost completely erase the degree variations that will come from just cutting the shaft in one place.
Why Must The Blade Not Rest On The Shaft?
Arrows may look sturdy, and they are. But the consistent weight of the blade of a heavy saw may be that thing that shatters the arrow. While this isn’t a given, it’s smart to avoid such an occurrence when cutting.
Conclusions
There are more than three tools that can be used to cut arrows— but these three are the most important, and baring anything extraordinary, you should be able to cut your arrows easily if you follow these instructions to the letter. Whatever method you use in cutting, always remember to put safety first. If you’re learning how to cut arrow shafts, you must be careful. Remember that carbon arrows have fumes that can be dangerous if you get exposed to them. So try to cover your nose when cutting.
If you’ve consistently bought arrows that are just not the right length for you, you would probably have gone into town several times to have your arrows cut. You don’t have to do that anymore. You’ve learned how to cut arrows at home, and you can now do it yourself. Happy shooting!